Setting up a personal music server (Navidrome)
Tired of using Spotify? Want to listen to your personal music library on all your different devices? This is a step-by-step guide on setting up your own personal music server that you can stream your music from. I've written this guide so that you can set it up right away, using only free services, and without needing to code or use command line. Let's get started!
Part one: Getting the server running on your computer
The free software we will be using that runs the music server is called Navidrome. We will run it using a free application called Docker.
I. Install Docker
These steps work for MacOS (Intel), MacOS (Apple Silicon), Windows, and Linux. Docker is a product that allows you to run applications across different devices in a contained and consistent way.
- In your web browser, go to the Docker website
- Download Docker Desktop for your operating system
- Install Docker Desktop
- Run Docker
The first time you run Docker, you might be asked to update some files on your computer. Follow the instructions that pop up if prompted. You may also be asked to log in — this is optional, and you can click "Skip" on the top right of the dialog box.
II. Pull the Navidrome Image
Once Docker is installed and running, we will get the Navidrome image that we will use to run the server. While Navidrome is the name of the software we'll be using, the Navidrome "image" tells Docker how to set it up to run on your computer.
- In Docker Desktop, click on "Docker Hub" in the left sidebar
- Search for "Navidrome"
- Select the "deluan/navidrome" page
- Click on "Pull" at the top of the page
III. Run Navidrome
Once you have the Navidrome image in Docker, it's time to configure and run it!
- In Docker Desktop, click on "Images" in the left sidebar
- If you followed "Pull the Docker Image" correctly, you should have the image listed in this page under the name "deluan/navidrome"
- Under "Actions," hit the play button to get ready to run the server
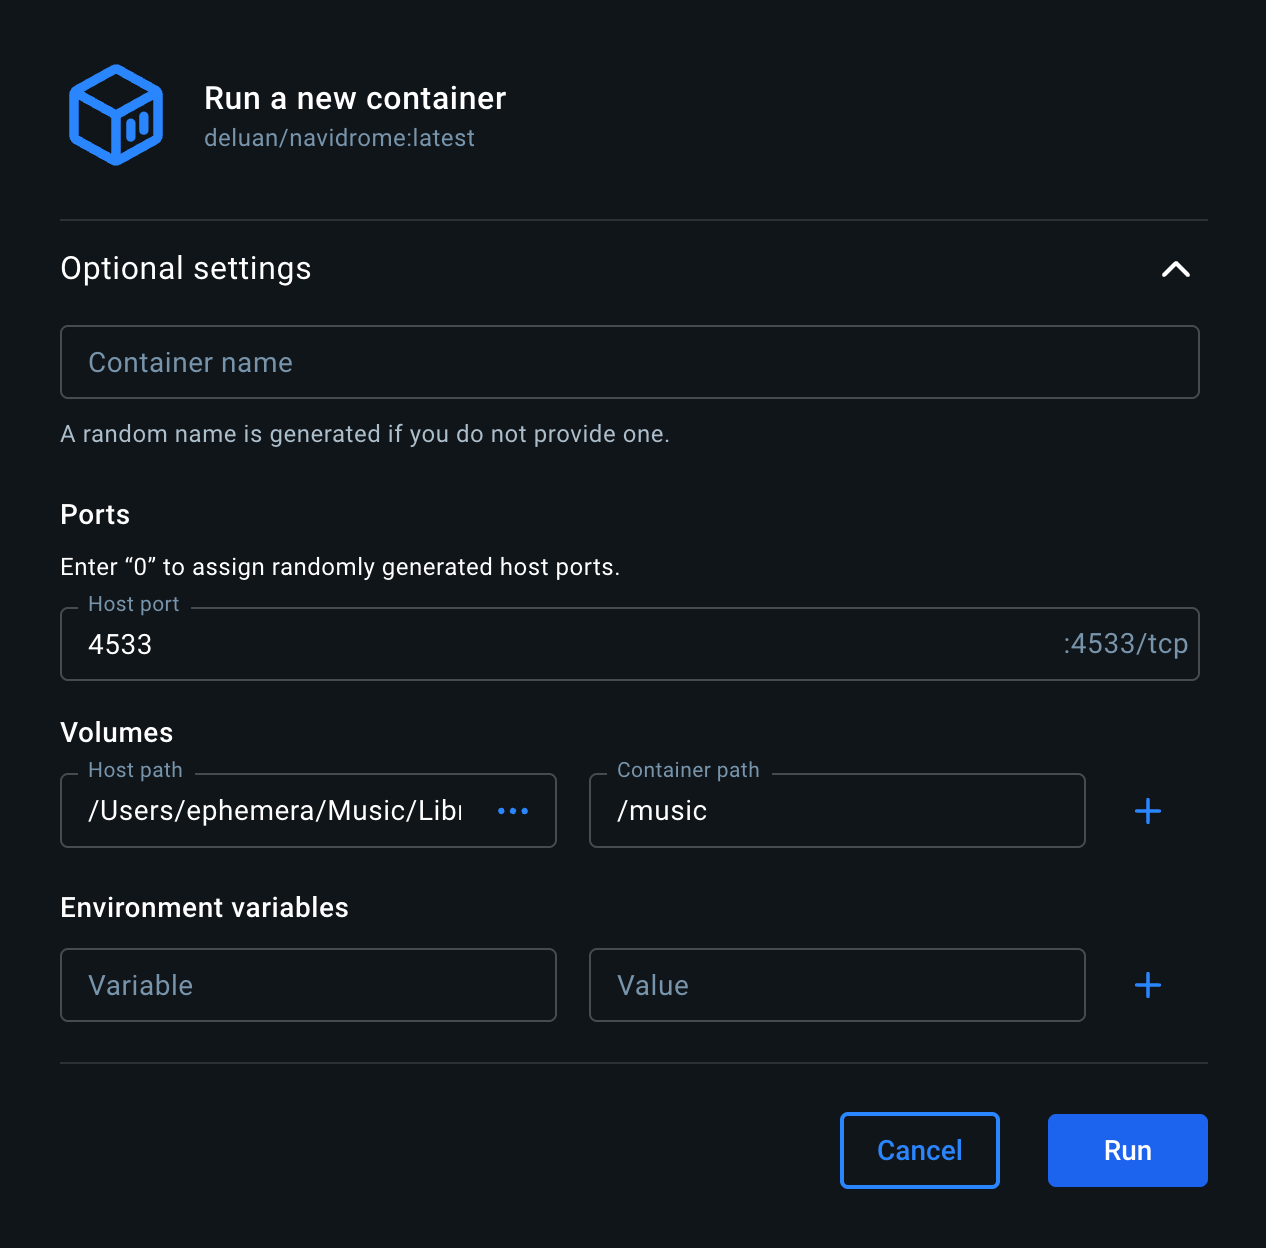
- In the "Run a new container" screen, click on "Optional settings" so we can set where your music library is. This assumes that your music library is currently on the computer that you are running Docker on.
- Under "Ports" enter "4533" in the "Host port" field
- Under "Volumes" click on the three dots in "Host path" to select the folder where all of your music is
- Under "Volumes" enter "/music" in the "Container path" field
- Hit "Run" and Docker will now launch a container running Navidrome!
In your web browser, you should now be able to go to http://127.0.0.1:4533/ to access the Navidrome server. It's important to make sure that this page loads properly before you continue.
IV. Accessing your music server
Once you have Navidrome up and running, you need to create an admin user so that you can manage the server (on the software side). This is because Navidrome allows for multiple users, last.fm scrobbling, etc., and we can configure these directly within Navidrome. The first time you set up Navidrome, it will ask you to create the admin user — it's very important you do this right away!
- In your web browser, go to http://127.0.0.1:4533/
- Create an admin user — make sure your username and password are secure
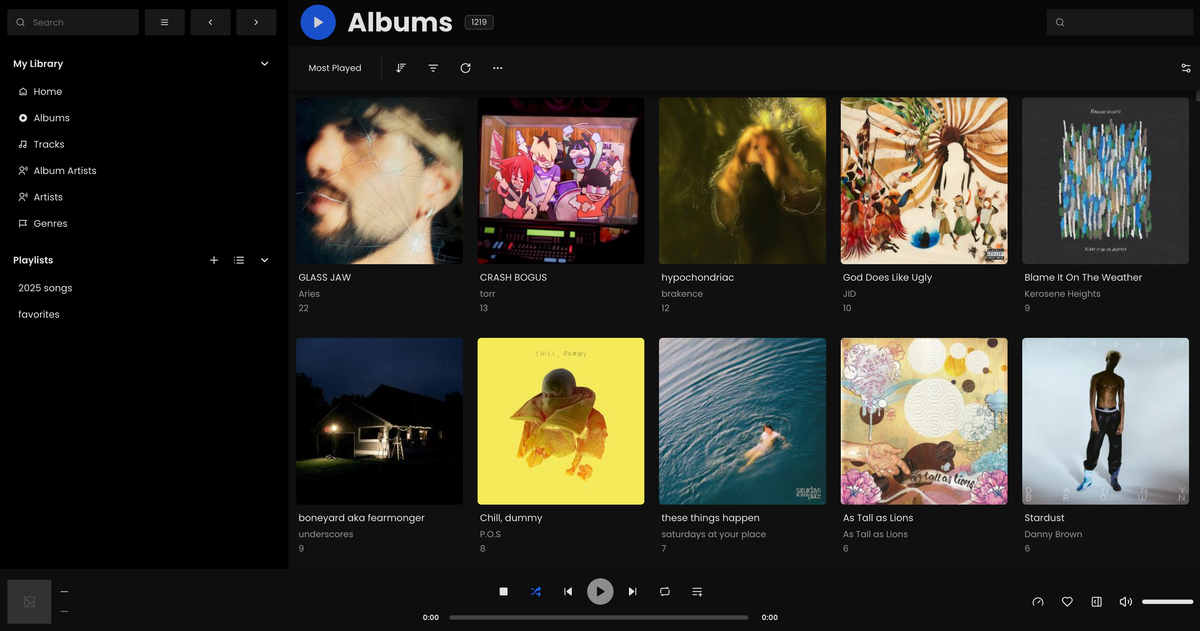
Your music server is now set up, and you can start listening to music on it. While listening directly from the browser is possible, there are better options like using dedicated music player apps (also called "clients"). In the following section, I'll talk about how to set up clients on your devices for remote listening.
Part two: Listening to it on your devices
Now that you've got your server up and running, you might want to connect to it on your other devices, such as your phone.
I. Install Tailscale
First we're going to need a way for devices to connect directly to your computer (and do it in a way that doesn't expose everything!). We'll use a platform called Tailscale to accomplish this.
- In your web browser, go to the Tailscale website and create an account (note that you'll be asked to fill out a survey as part of creating an account)
- Download Tailscale on the computer that's running your music server
- Run Tailscale on your computer and make sure that it's "Connected" after logging in
- In the Tailscale Admin Console, make sure that your computer is listed
For each device that you want to use:
- On the device you want to use to listen to the music server, install Tailscale — for example, if you want to listen on your phone, you can find Tailscale on the Apple Store or the Google Play Store
- Once Tailscale is installed on your listening device, make sure it shows "Connected" in the Tailscale app after logging in
- In the Tailscale Admin Console, make sure that your listening device is listed
Additional Steps for Security (click to toggle)
While the above steps are enough to get your devices connected to your music server, we can take some additional steps to add some more security by only allowing devices on Tailscale to listen to your music server.
- In the Tailscale Admin Console, go to "Access controls"
- Select "Tags" and click on the "Create tag" button
- Create a tag called "music-server"
- Click on "Create tag" and create a tag called "music-listener"
- Go back to "General access rules" and delete the existing rule (currently it is configured so that all devices can connect with all other devices)
- Click on "Add rule"
- In "Source", choose "tag:music-listener"; in "Destination", choose "tag:music-server"; in "Port and protocol", type in "tcp:4533"
- Save the rule!
Now that you’ve set the rule up, you’ll need to add tags to each of your devices. In the Tailscale Admin Console, go to “Machines” in the uppermost tab. For the computer your server is on, click on the three dots on the right and select “Edit ACL tags.” Add “tag:music-server”.
For each of your listening devices, click on the three dots on the right and add “tag:music-listener”. This way, only the devices you’ve tagged can interact with each other, and your listening devices can only connect to your music server.
II. Install a music app (client)
Finally, now that your music server is running, and your devices can connect to it, it's time to install a music app to actually listen to your music!
There are really only two steps:
- Install the client
- Connect it to your Navidrome server
In order to install the client, all you need to do is go to the Apple Store or Google Play Store to get it, if it's an app for your iPhone/Android. Personally, I'm using the following clients to listen to music from my Navidrome server:
You can see a full list of clients to choose from on the Navidrome documentation website.
If you're downloading a music client for your desktop and it's on GitHub, you should go to the "Releases" page and download the latest release version. Windows users should download an .exe, while Mac users should download a .dmg. For example, you can find the Feishin downloads on this page.
Once you've downloaded your music client, you'll need to tell it where your Navidrome server is. Different apps will have different interfaces for this. Go to your Tailscale Admin console (tailscale.com) and write down the IP address of the computer running the music server. This will look something like 100.45.120.67. Use this instead of {yourIPhere} below.
For Amperfy (iPhone/iPad):
- Download Amperfy and open it
- In the URL field, enter http://{yourIPhere}:4533
- Enter the same username and password as the one you made in part one for the admin account
For Chora (Android):
- Download Chora and open it
- After tapping "Let's go!" tap the "+" button on the bottom right
- In the Navidrome URL field, enter http://{yourIPhere}:4533
- Enter the same username and password as the one you made in part one for the admin account
- Tap "Login" and then tap "Add"
Once you've set that up, give the client a second to load up your music, and you should be able to stream directly from your music server! Happy listening!